
WebtoB Redhat 계열 Linux에 WebtoB 5 설치
 키큰난쟁이
키큰난쟁이
36 0 0

들어가며
✅ WebtoB5 설치하며 정리한 글
WebtoB 5 설치 전 사전 준비
JDK 6 이상 설치 필요
- WebtoB5 JDK 버전은 Java 버전 6 또는 그 이상의 버전이 필요합니다. 필자는 JDK 8 설치
# 설치 가능한 JDK 버전 확인
yum list java*jdk-devel
↑ yum을 통한 패키지 설치 진행하기전 설치가능한 JDK 버전 확인
Last metadata expiration check: 1:53:20 ago on Thu 14 Sep 2023 12:17:02 PM KST.
Available Packages
java-1.8.0-openjdk-devel.x86_64     1:1.8.0.382.b05-2.el9               appstream
java-11-openjdk-devel.x86_64        1:11.0.20.0.8-3.el9                 appstream
java-17-openjdk-devel.x86_64        1:17.0.8.0.7-2.el9                  appstream
↑ 설치가능한 패키지 리스트 중 JDK 8 확인 (java-1.8.0-openjdk-devel.x86_64)
# JAVA 8 설치
yum install java-1.8.0-openjdk-devel.x86_64
↑ yum을 통한 패키지 설치 진행
# JAVA 버전 확인
java -version

openjdk version "1.8.0_382"
OpenJDK Runtime Environment (build 1.8.0_382-b05)
OpenJDK 64-Bit Server VM (build 25.382-b05, mixed mode)
↑ 버전 확인
WebtoB 5 데모 라이센스 발급
- https://technet.tmaxsoft.com/ 해당 링크 통해서 라이센스 발급
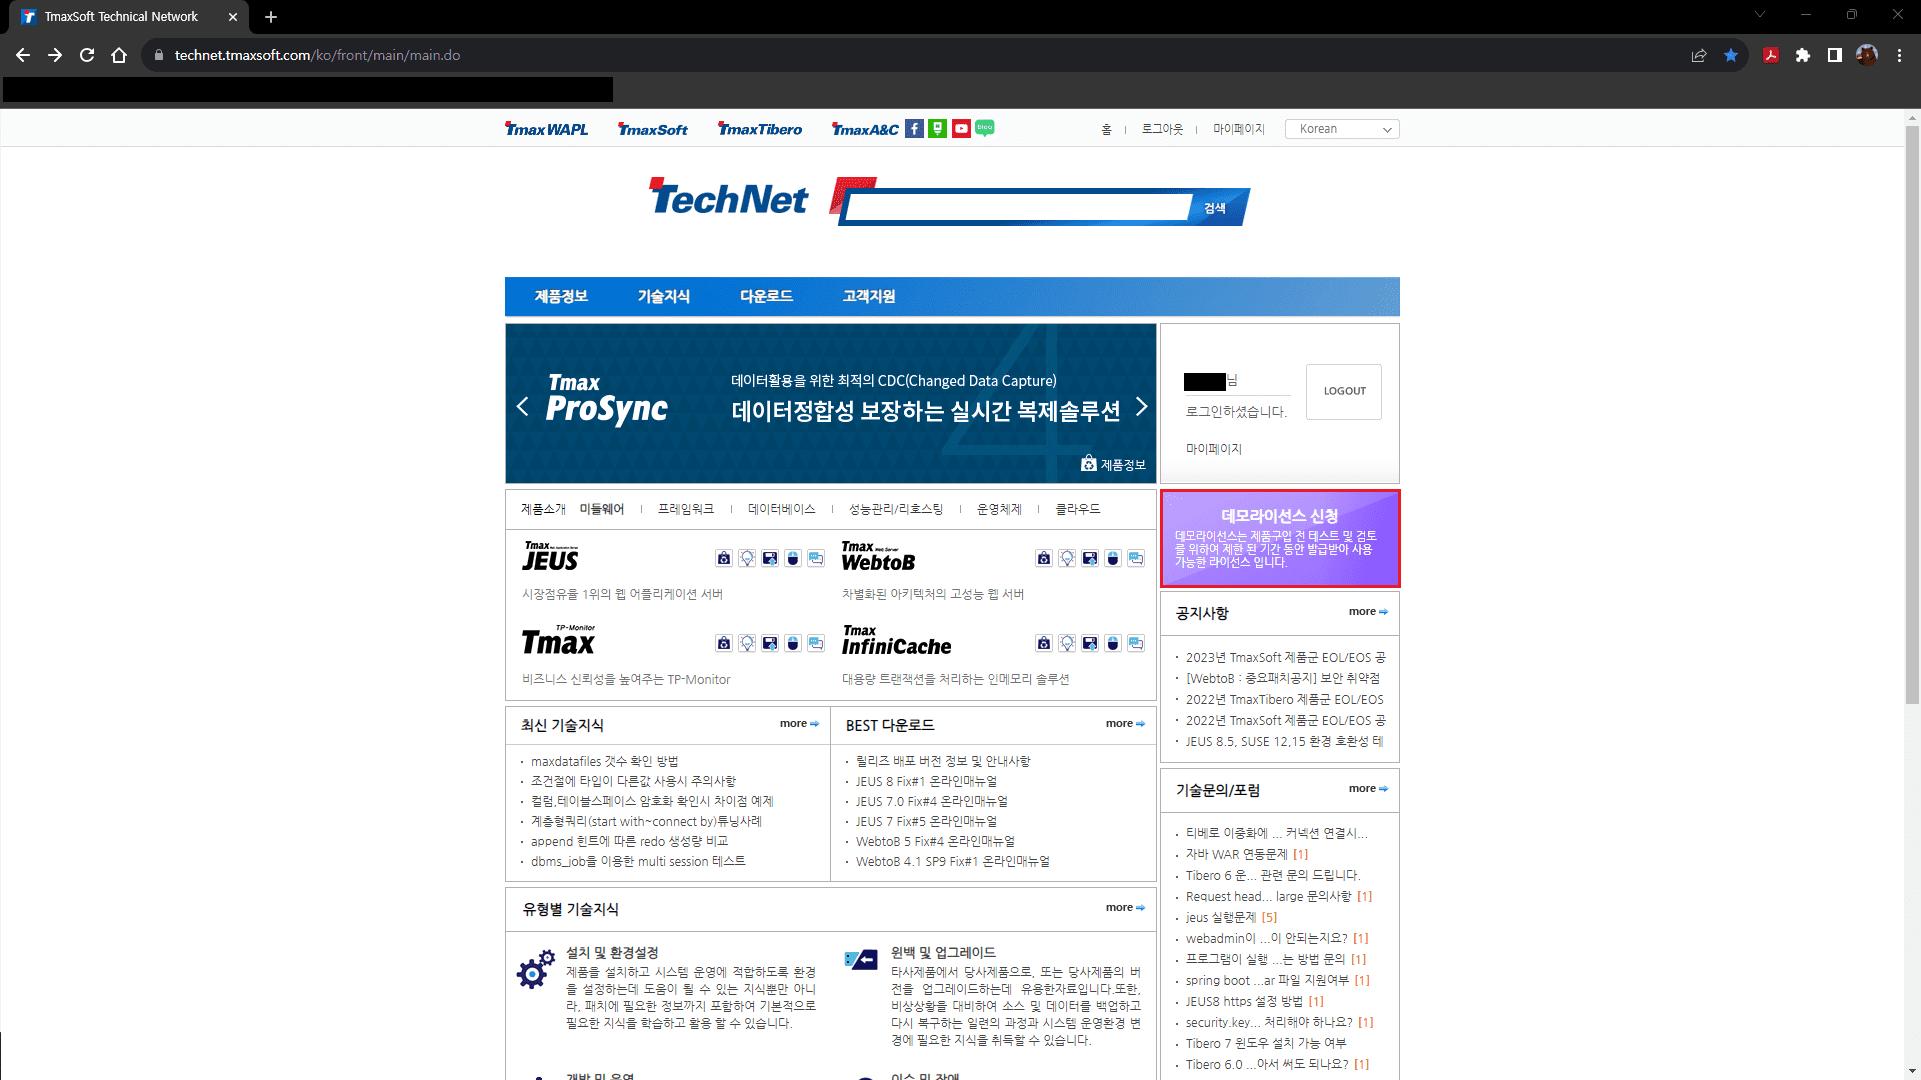
↑ 로그인 후 데모라이센스 신청 클릭
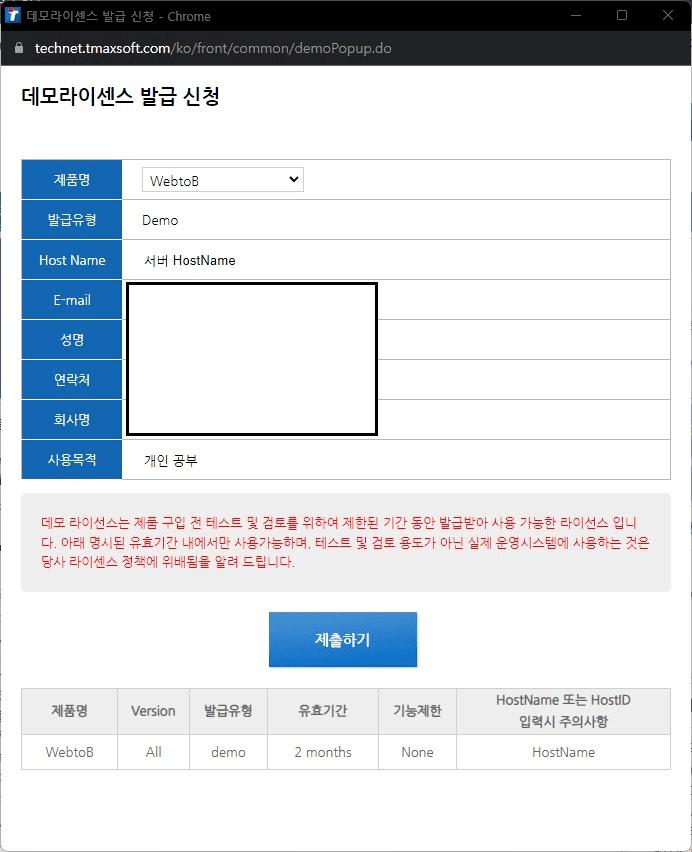
↑ 필요한 항목 작성 후 라이센스 발급 진행하되, HostName은 꼭 서버 HostName과 동일하게 작성해주시면 됩니다.
WebtoB 5 설치 파일 다운로드
- https://technet.tmaxsoft.com/ 해당 링크 통해 다운로드
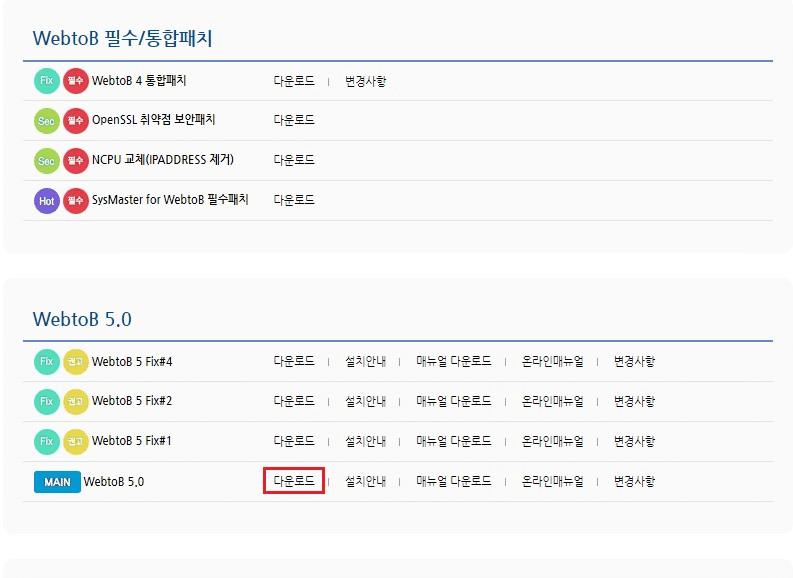
↑설치 하실 WebtoB 버전을 확인후 다운로드 버튼을 클릭합니다. 필자는 WebtoB5 을 설치하기때문에 WebtoB5 다운로드 클릭
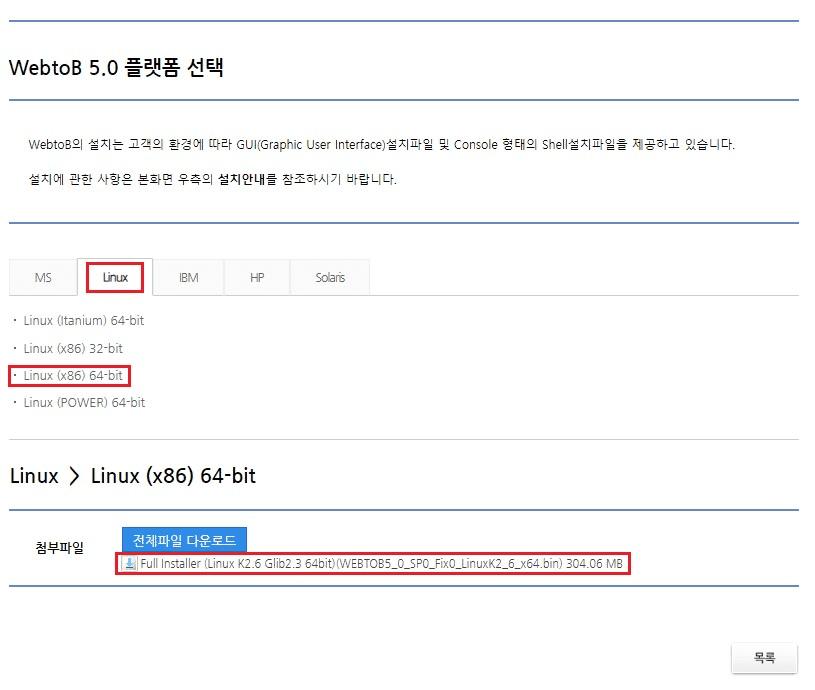
↑ 자신의 운영체제, 아키텍쳐에 맞는 설치파일을 다운로드 받고 보관해둡니다. 필자는 Linux (x86) 64-bit 다운로드
WebtoB 5 설치
WebtoB 5 계정 생성
# webtob 계정 생성
sudo adduser webtob
# webtob 비밀번호 설정
sudo passwd webtob

Changing password for user jeus.
New password: // 입력 후 엔터
Retype new password:  // 입력 후 엔터
passwd: all authentication tokens updated successfully.
설치파일 /home/webtob 계정 경로 업로드 및 실행 권한 부여
- 2.3에서 다운받은 파일 설치할 서버로 업로드 해주시길 바랍니다.
# 업로드 된 파일 확인
pwd
/home/webtob/WEBTOB5_0_SP0_Fix0_LinuxK2_6_x64.bin

# 실행 권한 부여
chmod u+x WEBTOB5_0_SP0_Fix0_LinuxK2_6_x64.bin
↑ 업로드된 파일 확인 및 실행권한 부여
WebtoB 5 설치 진행
- 콘솔에서 다음의 명령을 입력한 후 <ENTER> 키를 누른다. 설치 파일을 실행시키면 WebtoB를 설치하기 위한 준비작업을 진행한 후 간단한 사용 안내와 함께 진행 여부를 선택한다. 계속 진행하려면 <ENTER> 키를 누르고, 중단하려면 ‘quit’를 입력한다.
# 업로드한 파일 실행
./WEBTOB5_0_SP0_Fix0_LinuxK2_6_x64.bin

Preparing to install...
Extracting the JRE from the installer archive...
Unpacking the JRE...
Extracting the installation resources from the installer archive...
Configuring the installer for this system's environment...

Launching installer...

Preparing CONSOLE Mode Installation...

===============================================================================
WEBTOB5_0_SP0_Fix#0               (created with InstallAnywhere by Macrovision)
-------------------------------------------------------------------------------


===============================================================================
Introduction
------------

InstallAnywhere will guide you through the installation of WEBTOB5_0_SP0_Fix#0.

It is strongly recommended that you quit all programs before continuing with
this installation.

Respond to each prompt to proceed to the next step in the installation.  If you
want to change something on a previous step, type 'back'.

You may cancel this installation at any time by typing 'quit'.

PRESS <ENTER> TO CONTINUE:- WebtoB 라이선스에 대한 내용이 출력되고, 동의 여부를 묻는다. 라이선스에 동의하면 ‘Y’를 입력하여 다음 단계로 진행하고, ‘N’을 입력하여 라이선스에 동의하지 않으면 설치는 중단된다.
===============================================================================
License Agreement
-----------------

Installation and use of WEBTOB5_0_SP0_Fix#0 requires acceptance of the
following License Agreement:

WebtoB Release
Tmax Soft Co., Ltd. (hereafter, Tmax Soft) End-User License Agreement

Product : WebtoB

This is a legal agreement between you (either an individual or an company) and
Tmax Soft, Incorporated.  By opening the sealed software package and/or by
using the software, you agree to be bound by the terms of this agreement.

Tmax Soft License
1.  Grant of License:  This Tmax Soft License Agreement ("License") permits you
to use one copy of the Tmax Soft product Tmax, on any single computer, provided
the software is in use on only one computer at any one time.  If this package
is a license pack, you may make and use additional copies of the software up to
the number of licensed copies authorized.  If you have multiple licenses for
the software, then at any time you may have as many copies of the software in
use as you have licenses.
  The software is "in use" on a computer when it is loaded into the temporary
memory (i.e., RAM) or installed into the permanent memory (e.g., hard disk,
CD-ROM, or other storage devices) of that computer, except that a copy
installed on a network server for the sole purpose of distribution to other
computers is not "in use".  If the anticipated number of users of the software
will exceed the number of applicable licenses, then you must have a reasonable

PRESS <ENTER> TO CONTINUE:- 라이선스에 대한 내용을 계속해서 보려면 <ENTER> 키를 누르고, 설치를 중단하려면 ‘quit’을 입력한다.
===============================================================================
License Agreement
-----------------

Installation and use of WEBTOB5_0_SP0_Fix#0 requires acceptance of the
following License Agreement:

WebtoB Release
Tmax Soft Co., Ltd. (hereafter, Tmax Soft) End-User License Agreement

Product : WebtoB

This is a legal agreement between you (either an individual or an company) and
Tmax Soft, Incorporated.  By opening the sealed software package and/or by
using the software, you agree to be bound by the terms of this agreement.

Tmax Soft License
1.  Grant of License:  This Tmax Soft License Agreement ("License") permits you
to use one copy of the Tmax Soft product Tmax, on any single computer, provided
the software is in use on only one computer at any one time.  If this package
is a license pack, you may make and use additional copies of the software up to
the number of licensed copies authorized.  If you have multiple licenses for
the software, then at any time you may have as many copies of the software in
use as you have licenses.
  The software is "in use" on a computer when it is loaded into the temporary
memory (i.e., RAM) or installed into the permanent memory (e.g., hard disk,
CD-ROM, or other storage devices) of that computer, except that a copy
installed on a network server for the sole purpose of distribution to other
computers is not "in use".  If the anticipated number of users of the software
will exceed the number of applicable licenses, then you must have a reasonable

PRESS <ENTER> TO CONTINUE:- 다음은 <ENTER> 키를 눌러 라이선스를 끝까지 조회한 화면이다.
mechanism or process in place to ensure that the number of persons using the
software concurrently does not exceed the number of licenses.

2.  Copyright:  The software (including any images, "applets," photographs,
animations, video, audio, music and text incorporated into the software) is
owned by Tmax Soft or its suppliers and international treaty provisions.
Therefore, you must treat the software like any other copyrighted materials
(e.g., a book or musical recording) except that you may either (a) make one
copy of the software solely for backup or archival purposes, or (b) transfer
the software to a single hard disk provided you keep the original solely for
backup or archival purposes.  You may not copy the printed materials
accompanying the software, nor print copies of any user documentation provided
in "online" or electronic form.

3.  Other restrictions: This license is your proof of license to exercise the
rights granted herein and must be retained by you. You may not rent, lease, or
transfer your rights under this license on a permanent basis provided you
transfer this license, the software, and all accompanying printed materials,
retain no copies, and the recipient agrees to the terms of this license. You
may not reverse engine, decompile, or disassemble the software, except to the
extent that the foregoing restriction is expressly prohibited by applicable
law.

PRESS <ENTER> TO CONTINUE:


DO YOU ACCEPT THE TERMS OF THIS LICENSE AGREEMENT? (Y/N): Y- Install Set을 선택한다. WebtoB만 설치하려면 1번을 선택한다. WebtoB Standard Edition에서 제공되는 Servlet Engine과 함께 설치하려면 2번을 선택한다. Servlet Engine 기능은 데모 라이선스에서 제한 없이 제공되지만 정식 라이선스의 경우에는 반드시 Standard 라이선스를 적용해야 한다.
===============================================================================
Choose Install Set
------------------

Please choose the Install Set to be installed by this installer.

  ->1- WebtoB
    2- Servlet + WebtoB

ENTER THE NUMBER FOR THE INSTALL SET, OR PRESS <ENTER> TO ACCEPT THE DEFAULT
: 1- WebtoB가 설치될 디렉터리를 설정한다. 기본값을 사용하려면 <Enter> 키를 누르고, 디렉터리를 변경하려면 직접 절대 경로를 입력한다. (기본값: $HOME/webtob) 필자는 기본 경로를 /home/webtob 로 변경
===============================================================================
Choose Install Folder
---------------------

Where would you like to install?

   Default Install Folder: /home/webtob/webtob

ENTER AN ABSOLUTE PATH, OR PRESS <ENTER> TO ACCEPT THE DEFAULT
:/home/webtob- WebtoB 파일의 설치에 앞서 제품, 설치 경로, Install Set(Servlet Engine 설치 여부), 디스크 용량 정보 등을 확인한다. 계속 진행하려면 <ENTER> 키를 누르고, 중단하려면 ‘quit’을 입력한다.
===============================================================================
Pre-Installation Summary
------------------------

Please Review the Following Before Continuing:

Product Name:
    WEBTOB5_0_SP0_Fix#0

Install Folder:
    /home/webtob

Install Set
    WebtoB

Disk Space Information (for Installation Target):
    Required:  118,357,437 bytes
    Available: 3,114,831,872 bytes

PRESS <ENTER> TO CONTINUE:- 설치 정보를 확인하면 설치 준비 여부를 다시 한 번 확인한다. 준비가 완료되었다면 <ENTER> 키를 눌러 계속 진행하고, 중단하려면 ‘quit’을 입력한다.
===============================================================================
Ready To Install
----------------

Ready to install WEBTOB5_0_SP0_Fix#0 onto your system at the following
location:

   /home/webtob

PRESS <ENTER> TO INSTALL:- WebtoB 파일을 설치하고, WebtoB 설치에 필요한 작업들을 수행한 후 해당 플랫폼에서 open file descriptors 조회 및 영구 수정 방법을 출력한다. 정보를 모두 확인하였으면 <ENTER> 키를 눌러 다음 단계로 진행한다.
==============================================================================
Installing...
-------------

 [==================|==================|==================|==================]
 [------------------|------------------|------------------|------------------]


===============================================================================
Information
-----------

The administrator can set the maximum number of file descriptors as follows.
The machine needs a reboot in order for the configuration change to take
effect.

Linux 2.4 and later
-------------------
To check the current maximum number of file descriptors:
- Run "ulimit -Hn" on the command line.
This shows the hard liit.

To permanently change the maximum number of file descriptors:
- Open "/etc/security/limits.conf" with a text editor.
- Add a new line "*       hard      nofile     65536".
  65536 is the new maximum.  Change it as necessary.

PRESS <ENTER> TO CONTINUE:- 설치가 완료되면 “WebtoB의 설치가 성공적으로 마무리되었다”는 메시지가 출력된다. <ENTER> 키를 눌러 설치 작업을 완료한다.
===============================================================================
Installation Complete
---------------------

Congratulations. WEBTOB5_0_SP0_Fix#0 has been successfully installed to:

   /home/webtob

PRESS <ENTER> TO EXIT THE INSTALLER:- 설치 확인 지정된 설치 경로($WEBTOBEDIR)로 디렉터리가 생성되고 그 하위에 파일들이 설치된 것을 확인한다.
$WEBTOBEDIR
     |----ap
     |----bin
     |----cgi-bin
     |----config
     |----docs
     |----icons
     |----lib
     +----license
     |----log
     |----path
     |----ssl
     |----svct
     +----UninstallerData
     |----usrinc

################# 각 디렉토리 설명
ap
애플리케이션 파일이 위치한다.

bin
실행 파일(wsm, wscfl, wsuncfl wsracd, wsgst, wsboot, wsdown 등)들이 위치한다.

cgi-bin
CGI 파일이 위치한다.

config
WebtoB 환경 파일이 위치한다.

docs
기본적으로 설치되는 HTML 파일이 위치한다.

icons
DIRINDEX에서 사용할 아이콘이 위치한다.

lib
라이브러리(Library) 파일이 위치한다.

license
라이선스 파일이 위치한다.

log
로그 파일들이 위치한다.

path
프로세스 간의 내부 통신을 위한 Named-pipe가 생성된다.

ssl
SSL 관련 파일이 위치한다.

svct
WBAPI의 서비스 테이블이 위치한다.

UninstallerData
설치 제거를 위한 파일이 위치한다.

usrinc
API의 헤더 파일들이 위치한다- 설치 확인 환경변수 확인 .profile(ksh일 경우) 또는 .bash_profile(bash shell일 경우)에 다음과 같이 환경변수가 등록된 것을 확인한다.
# New environment setting added by WEBTOB5.0_SP0_Fix#0 on Wed Mar 30 14:52:54 KST 2016 1.
# The unmodified version of this file is saved in /home/webtob1/.bash_profile625190227.
# Do NOT modify these lines; they are used to uninstall.
WEBTOBDIR=/home/webtob1/webtob
export WEBTOBDIR
# End comments by InstallAnywhere on Wed Mar 30 14:52:54 KST 2016 1.

# New environment setting added by WEBTOB5.0_SP0_Fix#0 on Wed Mar 30 14:52:54 KST 2016 2.
# The unmodified version of this file is saved in /home/webtob1/.bash_profile625190227.
# Do NOT modify these lines; they are used to uninstall.
PATH="${WEBTOBDIR}/bin:${PATH}"
export PATH
# End comments by InstallAnywhere on Wed Mar 30 14:52:54 KST 2016 2.

# New environment setting added by WEBTOB5.0_SP0_Fix#0 on Wed Mar 30 14:52:54 KST 2016 3.
# The unmodified version of this file is saved in /home/webtob1/.bash_profile625190227.
# Do NOT modify these lines; they are used to uninstall.
LD_LIBRARY_PATH="${WEBTOBDIR}/lib:${LD_LIBRARY_PATH}"
export LD_LIBRARY_PATH
# End comments by InstallAnywhere on Wed Mar 30 14:52:54 KST 2016 3.
WebtoB 5 기동 및 종료
WebtoB 5 기동 전 작업
- .Bash_profile 갱신 (설치 후 Jeus Path가 자동으로 등록해주기때문에 갱신 필요)
# webtob 계정 디렉토리 이동 후
source .bash_profile
또는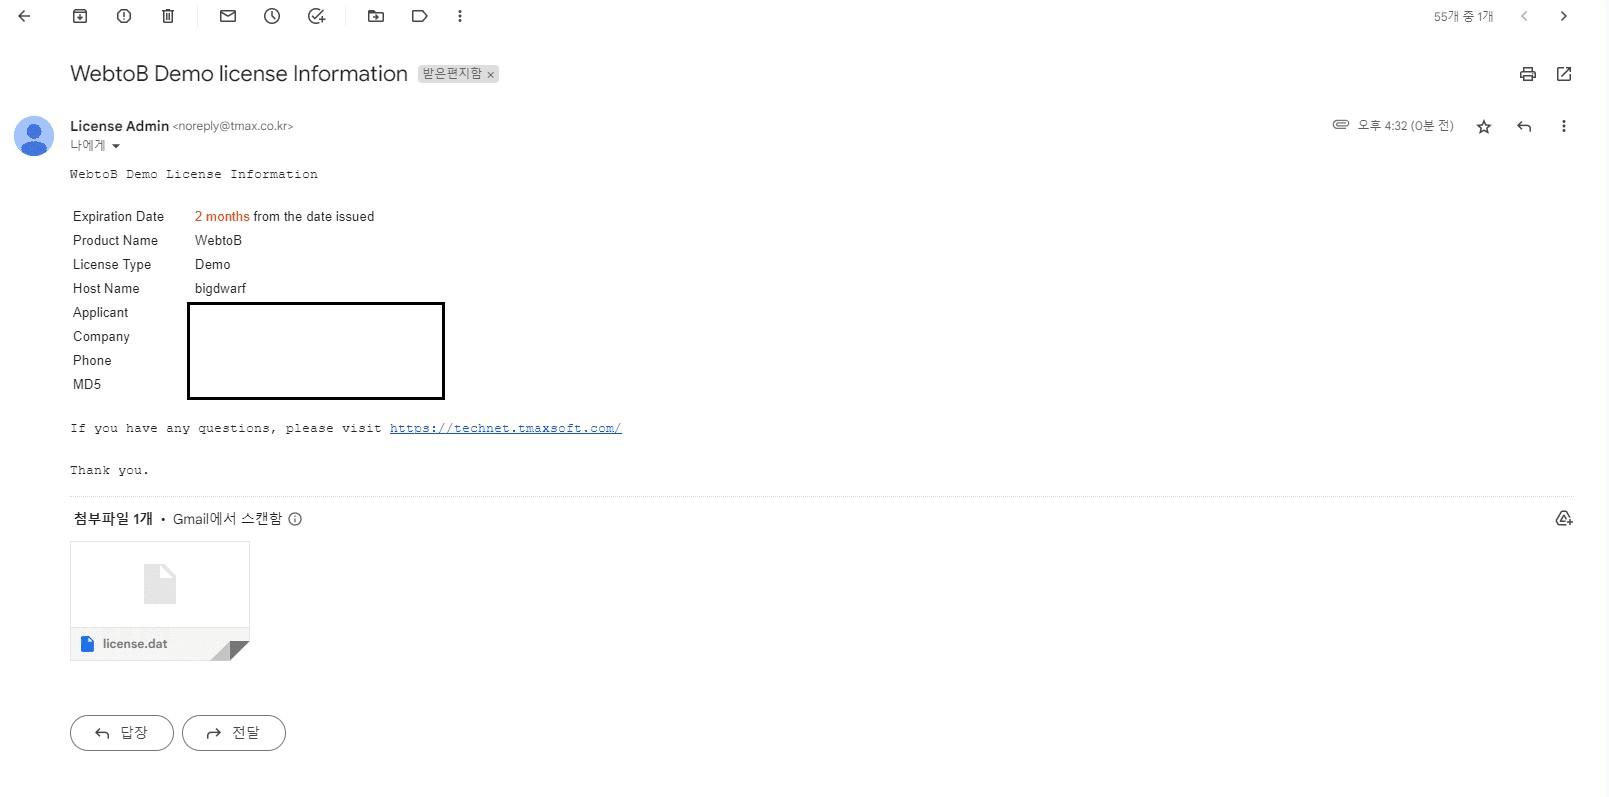
. ~/.bash_profile- 라이센스 파일 /home/webtob/license/ 경로에 저장
# 업로드 파일 확인
cd /home/webtob/license
ls -al
drwxrwxr-x.  2 webtob webtob    63 Sep 18 17:15 .
drwxrwxr-x. 16 webtob webtob  4096 Sep 18 17:10 ..
-rw-r--r--.  1 webtob webtob    80 Sep 18 17:15 license.dat
-rwxrwxr-x.  1 webtob webtob 12301 Sep 18 17:09 ncpu
-rwxrwxr-x. 1 webtob webtob 2738 Sep 18 17:09 WebtoB_License.txt- 환경 파일 작성 환경 파일은 ${WEBTOBDIR}/config 디렉터리에 기본적으로 제공되는 http.m 파일을 사용해서 설정한다. <http.m>
*DOMAIN
webtob1

*NODE
HostName      WEBTOBDIR="/home/webtob",
              SHMKEY = 54000,
              DOCROOT="/home/webtob/docs",
              PORT = "8080",
              HTH = 1,
              #Group = "nobody",
              #User = "nobody",
              NODENAME = "$(NODENAME)",
              ERRORDOCUMENT = "503",
              #JSVPORT = 9900,
              LOGGING = "log1",
              ERRORLOG = "log2",
              SYSLOG = "log3"

*HTH_THREAD
hth_worker
                  SendfileThreads = 4,
                  AccessLogThread = Y,
                  #ReadBufSize=1048576, #1M
                  #HtmlsCompression="text/html",
                  #SendfileThreshold=32768,
                  WorkerThreads=8

*SVRGROUP
htmlg           NODENAME = "qpsx1", SVRTYPE = HTML
cgig            NODENAME = "qpsx1", SVRTYPE = CGI
ssig            NODENAME = "qpsx1", SVRTYPE = SSI

*SERVER
cgi             SVGNAME = cgig, MinProc = 2, MaxProc = 10, ASQCount = 1
ssi             SVGNAME = ssig, MinProc = 2, MaxProc = 10, ASQCount = 1

*URI
uri1          Uri = "/cgi-bin/",   Svrtype = CGI
uri2          Uri = "/examples/",  SvrType=JSV, SvrName=MyGroup

*ALIAS
alias1        URI = "/cgi-bin/", RealPath = "/home/webtob/cgi-bin/"

*LOGGING
log1          Format = "DEFAULT", FileName = "/home/webtob/log/access.log_%M%%D%%Y%",
              Option = "sync"
log2          Format = "ERROR", FileName = "/home/webtob/log/error.log_%M%%D%%Y%",
              Option = "sync"
log3          Format = "SYSLOG", FileName = "/home/webtob/log/system_%M%%D%%Y%.log",
              Option = "sync"

*ERRORDOCUMENT
503           status = 503,
              url = "/503.html"

*EXT- 다음은 http.m 파일의 수정이 필요한 항목에 대한 설명이다.
| 항목 | 설명 |
|---|---|
| SHMKEY |
다른 프로그램과 충돌이 발생하는 경우 WebtoB를 기동시킬 때 에러 메시지가 발생하므로 수정한다. |
| PORT | 이미 사용 중인 포트 번호일 경우 WebtoB가 정상적으로 동작하지 않으므로 중복되지 않는 번호로 설정한다. |
| JSVPORT |
이미 사용 중인 포트 번호일 경우 내장 Servlet이 정상적으로 동작하지 않으므로 중복되지 않는 번호로 설정한다. |
- 환경 파일 컴파일 환경 파일을 확인한 후 다음과 같이 환경 파일을 컴파일한다. 정상적으로 컴파일하면 wsconfig라는 파일이 생성된다.
wscfl –i http.m
Current configuration:
        Number of client handler(HTH) = 1
        Supported maximum user per node = 16339
        Supported maximum user per handler = 16339

Successfully created the configuration file (/home/webtob1/webtob5/config/wsconfig) for node qpsx1.
The host name of the running machine is qpsx1.
WebtoB 5 기동
- wsboot 명령어를 실행한다.
$ wsboot

Booting WebtoB on node (qpsx1)
Welcome to WebtoB Demo system. It will expire on 2016-04-18
Today is 2016-03-30
Starting WSM at Wed Mar 30 15:14:16 2016
Starting HTL at Wed Mar 30 15:14:16 2016
Starting HTH at Wed Mar 30 15:14:16 2016
         Current WebtoB Configuration:
                Number of client handlers (HTH) = 1
                Supported maximum user per node = 8153
                Supported maximum user per handler = 8153
Starting SVR(cgis) at Wed Mar 30 15:14:16 2016
Starting SVR(cgis) at Wed Mar 30 15:14:16 2016
Starting SVR(ssis) at Wed Mar 30 15:14:16 2016
Starting SVR(ssis) at Wed Mar 30 15:14:16 2016- WebtoB가 기동되면 브라우저로 서비스를 요청한다.
http://<ip-address>:<port>/- WebtoB가 정상적으로 기동된 경우 다음과 같은 화면이 표시된다.
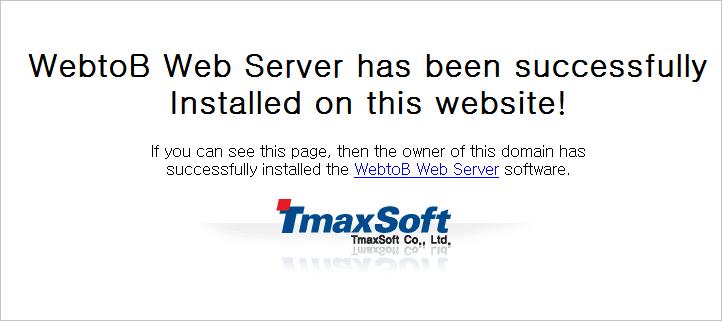
WebtoB 5 종료
- WebtoB를 종료하려면 wsdown 명령어를 실행한다. 다음은 WebtoB를 종료하는 과정에 대한 예
$ wsdown
Do you really want to shut down WebtoB? (y : n): y

WSDOWN for node(qpsx1) is starting:
        WSDOWN: SERVER(cgi:0) downed: Wed Mar 30 15:14:45 2016
        WSDOWN: SERVER(cgi:1) downed: Wed Mar 30 15:14:45 2016
        WSDOWN: SERVER(ssi:10) downed: Wed Mar 30 15:14:45 2016
        WSDOWN: SERVER(ssi:11) downed: Wed Mar 30 15:14:45 2016
        WSDOWN: HTL downed: Wed Mar 30 15:14:45 2016
        WSDOWN: HTH downed: Wed Mar 30 15:14:45 2016
        WSDOWN: WSM downed: Wed Mar 30 15:14:45 2016
        WSDOWN: WebtoB is down
WebtoB 5 제거
WebtoB 5 제거 실행
- WebtoB를 제거하기 위해 다음 경로의 Uninstaller를 실행한다.
$WEBTOBDIR/UninstallerData/Uninstall- Uninstaller를 실행시키면 다음과 같이 제거에 대한 안내 메시지가 출력된다. 제거 작업에서는 설치 과정에서 생성되었던 파일과 디렉터리를 삭제하며, 설치 후 생성된 파일들은 별도로 삭제해야 한다. <ENTER> 키를 눌러 다음 단계로 진행한다.
$ ./Uninstall
Preparing CONSOLE Mode Installation...

===============================================================================
WEBTOB5_0_SP0_Fix#0               (created with InstallAnywhere by Macrovision)
-------------------------------------------------------------------------------


===============================================================================
Uninstall WEBTOB5_0_SP0_Fix#0
-----------------------------

About to uninstall...

WEBTOB5_0_SP0_Fix#0

This will remove features installed by InstallAnywhere.  It will not remove
files and folders created after the installation.

PRESS <ENTER> TO CONTINUE: - 다음과 같은 화면이 나타나면서 각종 파일 및 환경변수 삭제 등의 작업을 수행한다.
===============================================================================
Uninstalling...
---------------

...*
*
*************************- 제거 과정이 성공적으로 완료되면 다음과 같은 메시지가 출력되고 Uninstaller 실행을 종료한다.
===============================================================================
Uninstall Complete
------------------

All items were successfully uninstalled.
WebtoB 5 제거 확인
- 파일 삭제 확인 : 설치했던 파일들이 모두 삭제된 것을 확인한다. 단, 설치 이후 생성된 파일들은 남아 있을 수 있으므로 별도로 삭제해야 한다.
- 환경변수 삭제 확인 : WebtoB를 설치할 때 등록된 환경변수들과 ‘PATH’에 설정된 경로들이 정상적으로 삭제된 것을 확인한다.


